You are scrolling through YouTube, watching riders explore Ladakh or navigate the chaotic streets of your city, and you think, “I could do that.” You have the bike, the passion, and the stories. But then you check the price of a GoPro Hero 14 or the latest DJI Action camera, and the dream hits a roadblock.
Here is the truth the camera industry doesn’t want you to know: In 2026, you do not need a ₹50,000 camera to start a successful motovlog channel.
Can you really build a professional-quality channel with just the phone in your pocket? Yes.
In fact, some of the fastest-growing channels this year are built entirely on smartphone footage. Why? Because the audience in 2026 craves authenticity over polish. They want the raw, unfiltered experience that a phone setup naturally provides.
If you are waiting for the “perfect gear” to start, you are losing valuable time. This guide is your blueprint. We will cover exactly how to build a pro-level rig for under ₹2,500, how to hack your audio for crystal-clear voiceovers, and the SEO strategies you need to trend and rank on Nakli Life’s recommended lists.
Table of Contents
Why the “Smartphone Setup Motovlogging” is Winning in 2026
Before we buy any gear, it is important to understand why this approach works. It is not just about saving money; it is about the content style.
1. The “Vertical First” Ecosystem
We live in the era of Shorts and Reels. If you shoot on a GoPro, you often have to crop the footage, losing quality to fit a vertical screen. When you shoot on a phone, you are native to the vertical format. You can shoot a clip at a traffic light, edit it in 2 minutes, and upload it before you even reach your destination. This speed allows you to ride “trending” waves much faster than traditional vloggers.
2. Sensor Technology has Peaked
The camera sensor in a mid-range phone from 2024–2026 is scientifically superior to action cameras from just a few years ago. With advanced computational photography, HDR (High Dynamic Range), and built-in stabilization, your phone is already a powerhouse.
3. Lower “Perceived” Barrier
When viewers see a rider with a massive camera rig, they see a “production.” When they see a rider with a phone, they see a “friend.” This psychological shift builds trust. Authenticity is the highest currency in 2026, and a budget setup screams authenticity.
The Hardware: Motovlogging Building Your Rig (Budget: ₹2,000 – ₹3,000)
You cannot simply hold the phone in your hand. Motovlogging requires a hands-free, secure, and stable setup. Here is the specific gear you need to turn your phone into an action camera.
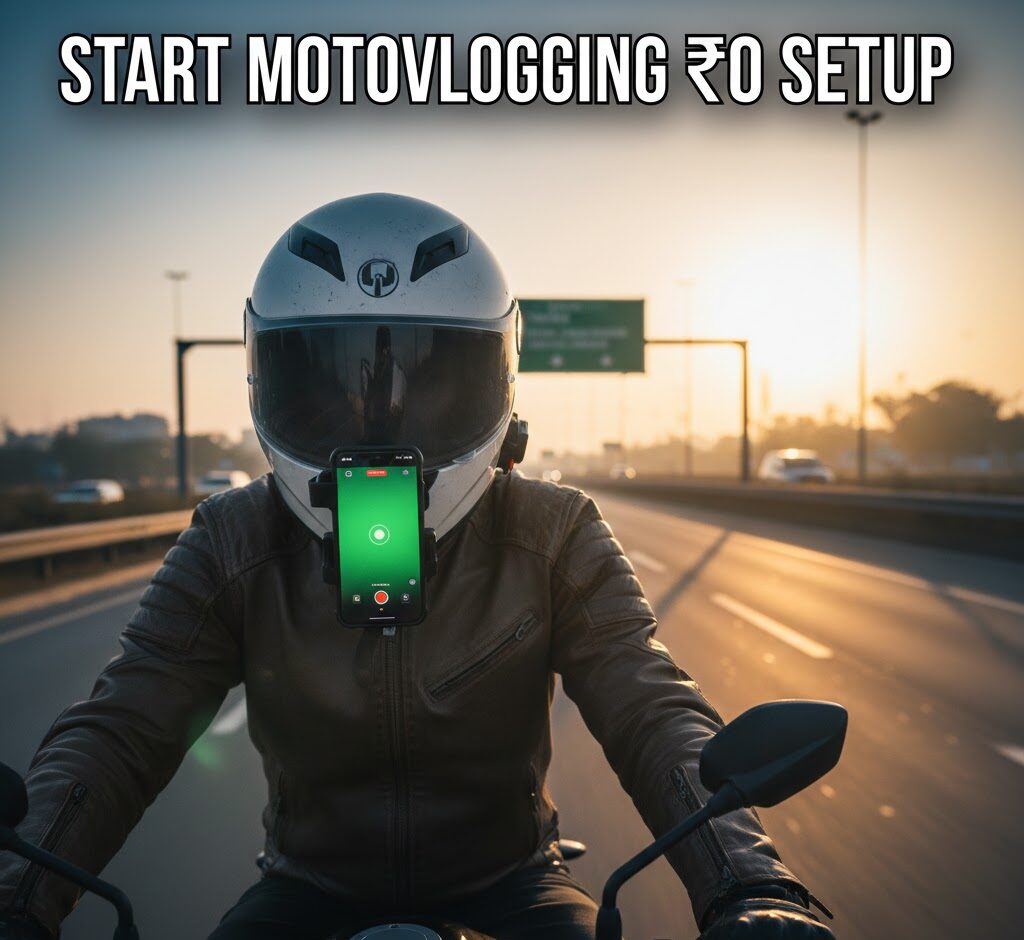
1. The Motovlogging Mount: Why “Chin” is King
There is only one place to mount a camera for motovlogging: The Helmet Chin.
- Avoid Handlebar Mounts: Mounting a phone on your bike’s handlebars is a disaster. The engine vibrations travel directly through the metal and will destroy your phone’s Optical Image Stabilization (OIS) hardware permanently. Plus, the footage looks detached and boring.
- The Solution: Use a Strap-Based Universal Chin Mount.
- Why: Your body acts as a natural shock absorber. When you hit a bump, your neck and spine dampen the shake before it reaches the helmet. This results in buttery smooth footage.
- View: The chin angle shows your handlebars and speedometer (about 20% of the frame) and the road ahead (80%). This gives the viewer a realistic “rider’s eye” perspective.
2. The Grip: Screw vs. Spring
Do not use cheap, spring-loaded “claw” holders used by delivery partners. They are fine for navigation but dangerous for filming.
- Get a Screw-Tight Mobile Holder: These holders use a bolt mechanism to clamp down on the phone. Once tightened, the phone cannot physically fall out, even if you crash or hit a massive pothole.
3. The Motovlogging Audio: The Secret to Retention
You can have 4K video, but if your audio is just wind noise (“KRRRR-WHHOOSH”), the viewer will click off in 3 seconds. The internal mic of your phone is useless above 30 km/h.
- The Mic: Buy a budget Lavalier (Collar) Microphone (3.5mm jack).
- The Adapter: Since most phones in 2026 lack a headphone jack, you need a USB-C to 3.5mm Adapter.
- Critical Note: Ensure the adapter supports DAC (Digital to Analog Conversion). Samsung, Pixel, and OnePlus phones will NOT recognize an external mic without a DAC chip.
The Motovlogging Setup: How to Install for Pro Results
Having the gear is one thing; setting it up correctly is the secret sauce.
Step 1: The “Deadcat” Audio Hack
Wind noise is your enemy. Do not clip the mic to your collar or leave it exposed inside the helmet.
- The Trick: Route the mic wire inside your helmet’s comfort padding. Place the microphone head inside the cheek pad foam, right next to your mouth but buried slightly in the cushion.
- Why? The dense foam of the helmet acts as a studio-grade “pop filter.” It blocks the rushing wind from hitting the mic diaphragm while allowing your voice to pass through clearly. This single trick will make your audio sound like you are in a quiet room, even at 80 km/h.
Step 2: Safety Tethering
Always have a backup plan. Use a strong shoelace or a zip-tie to create a “safety leash.” Tie one end to your phone holder and the other to your helmet’s D-ring strap. If the mount breaks (rare, but possible), your expensive phone will dangle safely instead of smashing onto the asphalt.
Step 3: Angle Adjustment
Sit on your bike in your natural riding posture. Adjust the mount so the phone is vertical.
- The Mistake: Pointing too high (seeing only sky) or too low (seeing only the fuel tank).
- The Fix: You want the horizon to be in the top third of the frame. Seeing your bike’s console is crucial—it grounds the viewer and gives them a sense of speed.
Motovlogging Camera Settings: Hacking the Algorithm
Your phone’s default camera app is designed for portraits, not high-speed action. Change these settings immediately to optimize for YouTube’s compression.
1. Resolution & Frame Rate
- Resolution: Stick to 1080p. While 4K is great, it generates massive files that are hard to edit on a phone. 1080p is still the standard for mobile viewing.
- Frame Rate: You MUST use 60fps (Frames Per Second).
- Why: 30fps looks choppy at high speeds. 60fps captures twice as much data per second, making the motion blur of the road look smooth and realistic. This is the “speed feel” that gamers and riders love.
2. Use the 0.5x Ultra-Wide Lens
Never film with the main (1x) lens. It is too zoomed in, making the footage look shaky and claustrophobic.
- The 0.5x Advantage: The Ultra-Wide lens captures your arms, the mirrors, and the scenery. It creates a sense of immense speed and naturally stabilizes the footage because wider angles hide shakes better than zoomed angles.
3. Exposure Lock (AE/AF Lock)
Riding through tree shade, tunnels, or under bridges confuses the camera’s auto-exposure, causing the video to flicker brightness.
- The Pro Move: Before hitting record, tap and hold on the horizon to lock exposure. Then, drag the sun icon down slightly to underexpose the image.
- Why? It is better to have a slightly dark video (which looks moody and cinematic) than a “blown out” white sky that cannot be fixed.
Motovlogging Editing & Production: Keeping Them Watching
In 2026, retention is the only metric that matters. If people stop watching, YouTube stops recommending. Here is how to edit for retention using just your phone.
1. The “Cold Open”
Never start your video with “Hello guys, welcome to the vlog.” That is the fastest way to kill your video.
- Start with action: A close call, a funny joke, a stunning view, or a weird interaction. Put the best 5 seconds of your day at the very start (0:00 – 0:05). This is the “Hook.”
2. Audio Mixing
Since you are using a budget setup, your bike’s exhaust note might be quiet.
- Tip: Add a low-volume background track (Lo-Fi or Phonk music works well for riding). When you are talking, drop the music volume to 10%. When you are just riding, boost it to 60%. This dynamic audio keeps the brain engaged.
3. Mobile Editing Apps
- VN Video Editor: The best free option. No watermark, multi-track audio, and supports 60fps export.
- CapCut: Essential for its Auto-Captions. Many people watch videos on mute; having dynamic text on screen increases retention by 40%.
SEO Strategy: How to Rank Your First Video
You have made the video. Now, how do you get views without subscribers? You need to target Search Intent.
1. Specific Titles > Vague Titles
- Bad Title: “My Weekend Ride.” (Nobody cares yet).
- Good Title: “Patna to Rajgir Road Condition 2026 | Safe for Bikers?” (People are searching for this!).
- Why: You are answering a specific question. You will rank on Google Search for people planning that trip.
2. The Thumbnail Psychology
For motovlogging, high contrast works best.
- Formula: [Bright Bike Image] + [Blurred Background] + [Short Text].
- Text Example: “POLICE STOPPED ME?” or “ROAD BLOCKED” or “HIDDEN LOCATION.” Keep text under 4 words.
Essential Gear List (Affiliate Ready)
1. Safety Gear
- DOT/ECE Certified Full Face Helmet: Don’t compromise here. The highways are fast, and the hills are unpredictable.
- [ Amazon Link for Helmet https://amzn.to/4rcLvZI
- All-Season Riding Jacket with Armor: You need mesh for the Bihar heat, but a liner for when the altitude drops in Nepal.
- [Amazon Link for Riding Jacket Here] https://amzn.to/49ECdQf
- Riding Gloves (Touchscreen Compatible): Essential for navigation without taking gloves off.
- [ Amazon Link for Gloves Here] https://amzn.to/4sYTxqP
2. Bike Accessories & Tech
- Robust Mobile Holder with Charger: Navigation is crucial, and your battery will drain fast.
- [Amazon Link for Mobile Mount Here] https://amzn.to/3Zv61ZB
- Portable Tyre Inflator & Puncture Kit: You will find puncture shops, but being self-reliant on highway stretches is better.
- [ Amazon Link for Puncture Kit Here] https://amzn.to/4k4gEMK
- Bungee Cords/Rok Straps: To securely fasten your luggage to the tail seat.
- [Amazon Link for Luggage Straps Here] https://amzn.to/3LvOhdy
Final Verdict: Just Hit Record
The “perfect time” to start was yesterday. The “perfect gear” is what you have in your hand.
Motovlogging is not about the resolution of your camera; it is about the resolution of your character. The biggest YouTubers of 2026 didn’t start with Red cameras; they started with grainy footage and a story to tell.
By starting with a budget smartphone setup, you are forcing yourself to learn the actual skills of storytelling, audio routing, and editing. When you eventually upgrade to a dedicated camera, you will be unstoppable.
But for now? The road is calling, the tank is full, and your phone is charged. Go create.
Found this guide helpful? Share it with your riding squad and subscribe to the Nakli Life newsletter for more brutally honest gear reviews!
Please read our other post on travels on a motorcycle https://naklilife.com/5-epic-weekend-motorcycle-getaways-from-patna/