
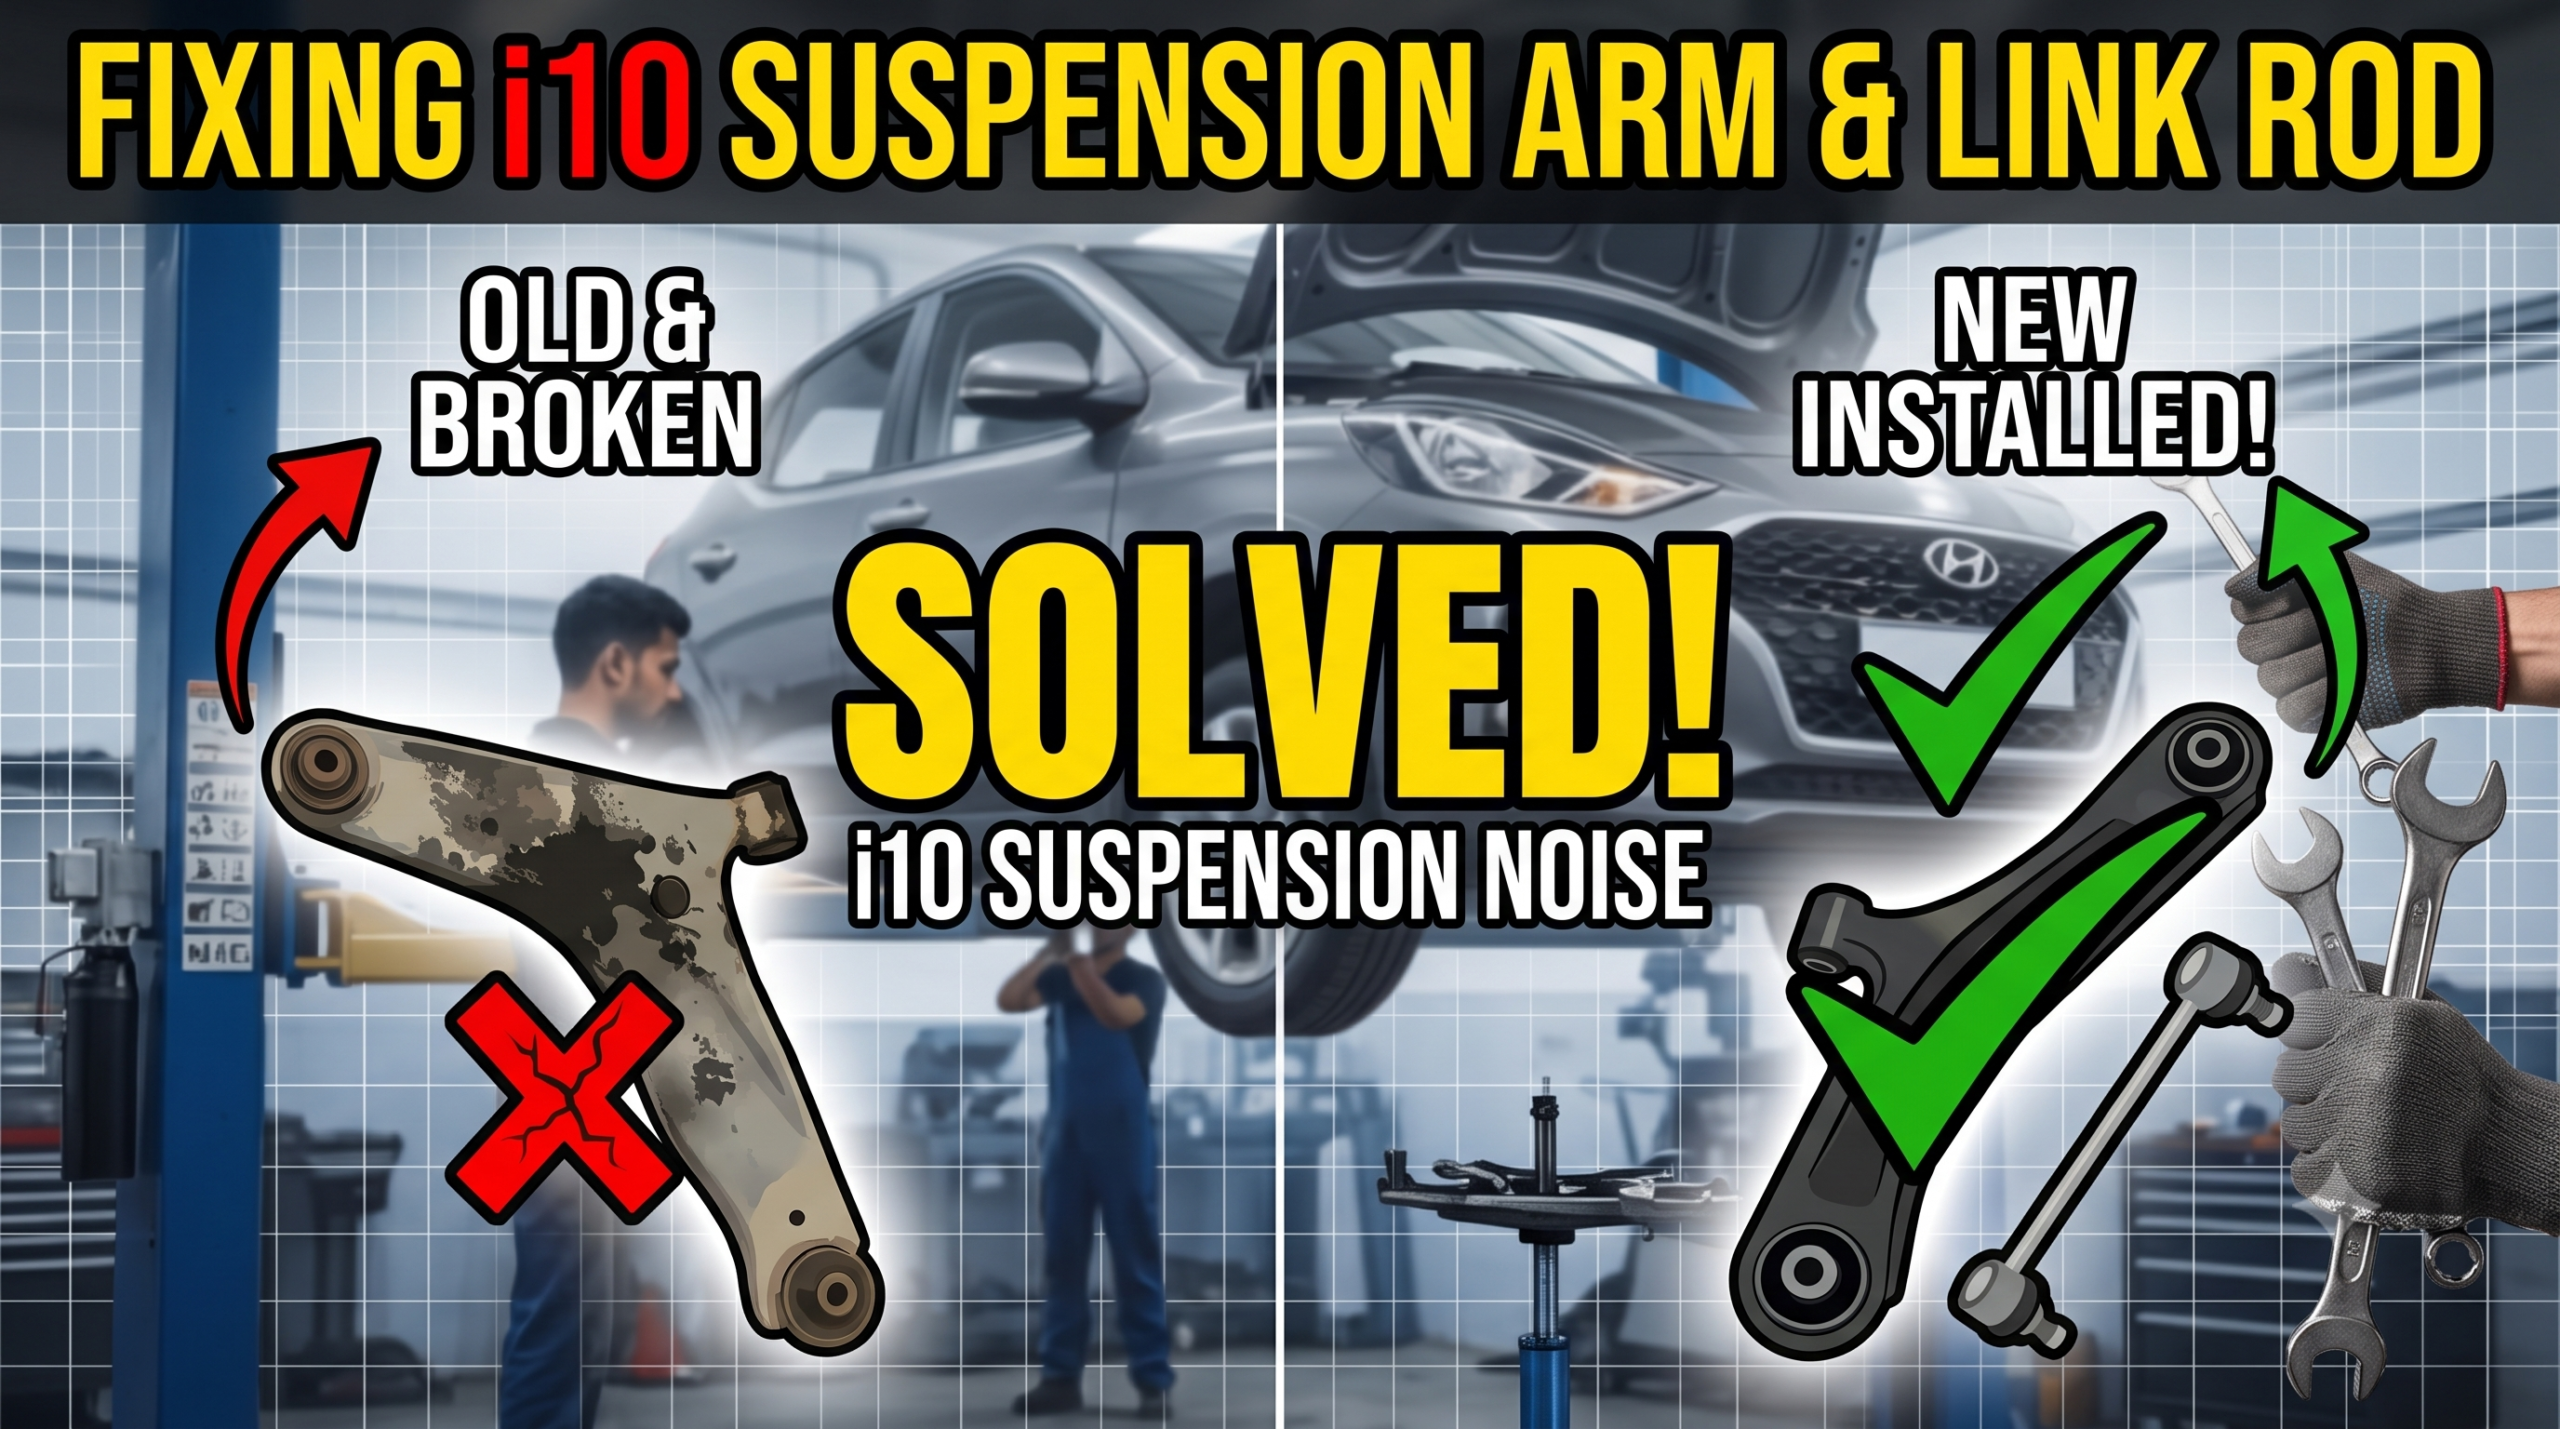
When I recently picked up a second-hand Hyundai i10 from a certified pre-owned showroom, I was thrilled. It was meant to be the perfect daily driver and a reliable gear-hauler for those days when I am not out on two wheels filming motovlogs across the highways of Bihar. However, the honeymoon phase was briefly interrupted by a highly irritating, repetitive “clunking” sound echoing from the front passenger side every time I hit a pothole, a speed breaker, or even just a rough patch of tarmac.
If you own an older i10, you probably know exactly what sound I am talking about. It makes the car feel fragile, cheap, and unsafe. After getting under the car and doing a thorough inspection, the culprits were obvious: a worn-out lower control arm (often called a chimta by local mechanics) and a completely busted stabilizer link rod.
In this comprehensive 2026 guide, we are going to dive deep into diagnosing front suspension noises on the Hyundai i10, break down the exact costs of OEM replacement parts in India, and walk through the step-by-step process of replacing the lower arm and link rod so you can get your car driving tight and silent once again.
What Causes the Hyundai i10 Suspension Clunk?
The front suspension of the Hyundai i10 is a standard MacPherson strut setup. It is a robust and simple design, but it relies heavily on rubber bushings and ball joints to absorb road impacts and allow the wheels to articulate. Over time, heat, friction, and the unforgiving nature of our city roads degrade these components.
1. The Lower Control Arm
The lower control arm is the primary link between the chassis of the car and the wheel hub. It contains two heavy-duty rubber bushings where it mounts to the car’s frame and a ball joint where it connects to the wheel knuckle. When the rubber in these bushings tears or perishes, metal hits metal. This is the primary source of that aggressive clunking noise. Furthermore, a loose ball joint creates dangerous play in the steering. For minor suspension upgrades, the lower arm is a major cost component.
2. The Stabilizer Link Rod
The stabilizer link rod connects the suspension lower arm to the anti-roll bar. Its job is to keep the car flat while cornering. These rods feature small ball joints at each end. When the internal grease dries up and the joint wears out, the rod begins to rattle rapidly over small bumps. It sounds almost like marbles shaking in a tin can.
4 Symptoms You Should Never Ignore
How do you know for sure that your lower arm or link rod needs replacing? Look out for these four tell-tale signs:
- The Infamous Clunk or Rattle: A distinct knocking sound when driving over bumps or uneven surfaces.
- Vague Steering Feel: The steering wheel might feel loose, disconnected, or require constant small corrections to drive straight on the highway.
- Uneven Tire Wear: If the inner or outer edge of your front tires is wearing down significantly faster than the rest of the tread, your suspension geometry is compromised due to a failing control arm bushing.
- Wandering Under Braking: If the car darts to the left or right when you hit the brakes hard, it indicates severe play in the lower arm bushings.
Hyundai i10 Suspension Parts: OEM vs. Aftermarket
When it comes to suspension components, I highly recommend avoiding unbranded aftermarket parts. While they might save you a few hundred rupees initially, the rubber degrades much faster, and you will find yourself doing the same job again in less than a year.
Stick to OEM Mobis (Genuine Hyundai parts) or highly reputable aftermarket brands like TRW, Monroe, or Lemforder. Given the affordable nature of Hyundai parts in India, going genuine is the smartest route.
The Real Cost of Replacement (2026 Estimates)
If you are taking your car to a mechanic or planning a DIY weekend project, here is exactly what you should expect to pay for parts and labor in India:
- Lower Control Arm (Mobis OEM): A genuine Hyundai LH (i10) front suspension arm comes at an MRP of around ₹1,223 (inclusive of all taxes). Prices may fluctuate slightly based on your local dealership or online spare part stores, but expect to pay between ₹1,200 and ₹1,500 per side.
- Stabilizer Link Rod (Mobis OEM): A genuine front stabilizer link assembly is generally priced around ₹480 to ₹1,004.
- Labor Charges: If you choose to have a local workshop handle the installation, labor charges for a suspension overhaul typically range from ₹3,000 to ₹7,000 depending on the scope of the work and your location. Just replacing the two front arms and link rods should sit at the lower end of that spectrum.
In total, a complete front-end refresh of the lower arms and link rods (including labor and alignment) will realistically cost you anywhere from ₹6,000 to ₹8,000.
Step-by-Step Replacement Guide
Disclaimer: Automotive repair can be dangerous. Always use proper jack stands and safety equipment. If you are not confident in your mechanical abilities, take your vehicle to a certified professional.
If you are tackling this at home to save on labor, here is a general overview of the process:
Step 1: Safety First
Ensure the car is parked on a flat, level concrete surface. Engage the parking brake, block the rear wheels, and loosen the front wheel lug nuts slightly. Jack up the front of the car and secure it firmly on heavy-duty jack stands. Never work under a car supported only by a hydraulic jack!
Step 2: Remove the Wheel and Inspect
Take off the front wheels. Use this opportunity to visually inspect the brake lines, shock absorbers, and tie rod ends for any signs of leaks or damage.
Step 3: Remove the Stabilizer Link Rod
Spray penetrating fluid (like WD-40) on the nuts securing the link rod. These are notorious for rusting and getting stuck. Use a spanner to hold the joint from spinning while loosening the nut with a socket. Remove the old link rod completely.
Step 4: Unbolt the lower control arm.
The lower arm is held in place by three main connection points:
- The front horizontal mounting bolt.
- The rear vertical mounting bolt.
- The pinch bolt securing the ball joint to the steering knuckle. Remove the pinch bolt first, and use a pry bar to pop the ball joint out of the knuckle. Then, remove the two chassis bolts and slide the old heavy control arm out of the subframe.
Step 5: Install the New Control Arm
Slide the new OEM lower arm into the subframe mounting points. Insert the bolts but do not tighten them completely yet. This is a crucial step. If you torque rubber bushings while the suspension is hanging freely, they will twist and tear the moment you lower the car to the ground.
Step 6: Connect the Ball Joint and New Link Rod
Guide the new ball joint into the steering knuckle and secure the pinch bolt. Next, install the fresh stabilizer link rod, tightening both the upper and lower nuts securely.
Step 7: Final Torque Under Load
Put the wheel back on and lower the vehicle off the jack stands so the full weight of the car is resting on the tires. Now, crawl back under the car and torque the lower control arm chassis bolts to factory specifications. This ensures the bushings sit in a relaxed state at normal ride height.
Step 8: The Mandatory Wheel Alignment
You are not done yet! Anytime you replace a major suspension component, the vehicle’s geometry shifts. Driving the car as-is will result in rapid tire wear and sketchy handling. Take the car to an alignment shop immediately to get the toe and camber dialed back into factory specifications.
Essential Gear List (Affiliate Ready)
1. Safety Gear
- DOT/ECE Certified Full Face Helmet: Don’t compromise here. The highways are fast, and the hills are unpredictable.
- [ Amazon Link for Helmet https://amzn.to/4rcLvZI
- All-Season Riding Jacket with Armor: You need mesh for the Bihar heat, but a liner for when the altitude drops in Nepal.
- [Amazon Link for Riding Jacket Here] https://amzn.to/49ECdQf
- Riding Gloves (Touchscreen Compatible): Essential for navigation without taking gloves off.
- [ Amazon Link for Gloves Here] https://amzn.to/4sYTxqP
2. Bike Accessories & Tech
- Robust Mobile Holder with Charger: Navigation is crucial, and your battery will drain fast.
- [Amazon Link for Mobile Mount Here] https://amzn.to/3Zv61ZB
- Portable Tyre Inflator & Puncture Kit: You will find puncture shops, but being self-reliant on highway stretches is better.
- [ Amazon Link for Puncture Kit Here] https://amzn.to/4k4gEMK
- Bungee Cords/Rok Straps: To securely fasten your luggage to the tail seat.
- [Amazon Link for Luggage Straps Here] https://amzn.to/3LvOhdy
Also go through our motorcycle trip to Nepal : https://naklilife.com/patna-to-nepal-by-bike-road-conditions-permit-guide-2026-update/
Conclusion
Fixing the suspension on an aging i10 breathes completely new life into the car. The annoying clunks vanish, the steering tightens up, and the vehicle regains that planted, confident feel it had when it rolled off the showroom floor. For a relatively low cost, it is one of the most rewarding maintenance tasks you can perform.
If you want to see exactly how this process looks in action, be sure to check out the full video tutorial embedded above, where I get my hands dirty and document the entire replacement process on my own car!
Have you replaced the suspension on your i10 recently? Drop a comment below and let me know how much it cost in your city!